Thinking about saying goodbye to YouTube TV? We’ve all been there—life changes, budgets shift, or maybe you just found another streaming service that better suits your needs. Whatever your reason, the last thing you want is a confusing cancellation process that feels like an episode of a bad drama series. But don’t worry! We’ve got your back with easy, straightforward steps to cancel your YouTube TV subscription without the headache. Grab a cozy seat, and let’s dive into a hassle-free journey to hitting that unsubscribe button.
Understanding the YouTube TV Cancellation Process Made Simple
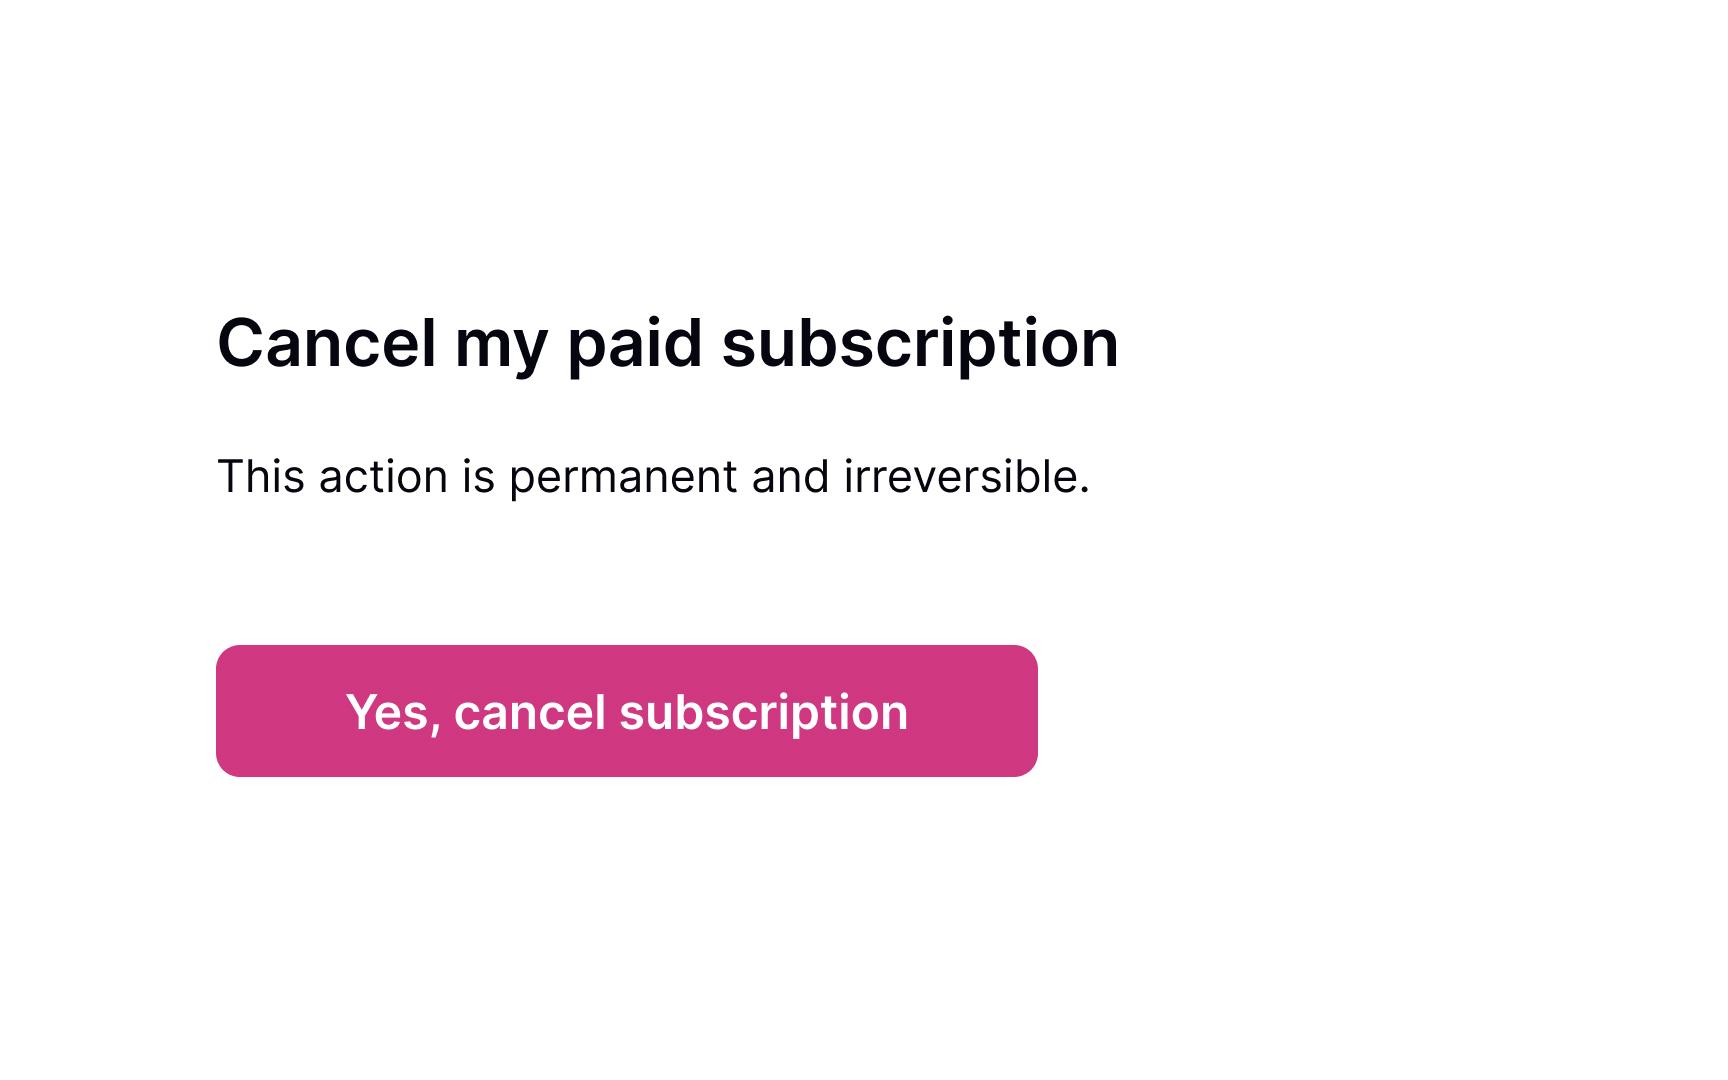
Canceling your YouTube TV subscription can feel daunting, but it doesn’t have to be! Follow these simple steps and you’ll be out in no time. First, log into your YouTube TV account on your desktop or through the mobile app. Once you’re in, navigate to your profile icon—it’s usually sitting pretty in the top right corner. Click on it, and from there, head to Settings. Can you smell the courage in the air? You’re almost there! Now, find the Membership tab, and voilà! You should see the option to cancel your membership. Just remember, before you click that cancel button, take a moment to consider if you really want to say goodbye. Sometimes, it’s easy to overlook the value you’ve been enjoying!
Now, let’s make sure you don’t miss anything crucial! After you initiate the cancellation, do keep an eye out for a confirmation screen—it’s your peace of mind. If you change your mind, YouTube TV gives you a grace period, allowing you to reactivate your subscription without missing a beat! Here’s a nifty table to keep it all clear:
| Step | Action |
|---|---|
| 1 | Log into your account |
| 2 | Go to Settings |
| 3 | Click on Membership |
| 4 | Select Cancel Membership |
| 5 | Confirm Cancellation |
Remember, if you’re feeling overwhelmed, just take it one step at a time. It’s like peeling an onion—slice away the layers, and before you know it, you’ve got a clean slate ahead of you! And hey, if in the future you want to jump back on the streaming train, YouTube TV will be more than happy to welcome you back! Happy canceling!
Finding the Right Path: Navigating Your Account Settings
Getting to your account settings on YouTube TV might feel a bit like searching for a needle in a haystack, but trust me, it’s way easier than it seems. First off, fire up YouTube TV and log in if you haven’t already. Look for your profile icon—it’s usually perched in the top right corner like a VIP guest at a party. Click on it, and you’ll see a dropdown menu. Here’s where the magic happens! Select “Settings” from this menu, and voilà! You’re in the heart of your account settings. From here, you can tweak everything from payment methods to your subscription details. It’s like having your own control center—pretty nifty, right?
Now, let’s dive a little deeper into what you’ll find in the settings. Picture a well-organized closet: on one side, you have your personal information, and on the other, your subscription management tools. If you want to cancel your subscription, head to the “Membership” tab. This is where you’ll find a neat summary of your plan. Just click on “Cancel Subscription,” and follow the prompts—it’s kind of like checking out at your favorite online store, but instead, you’re winding down for a bit. Remember, you can always revisit your settings later to renew whenever you’re ready. It’s all about staying in control of your viewing experience!
Tips for a Smooth Cancellation Experience Without Headaches
Canceling your YouTube TV subscription doesn’t have to feel like pulling teeth. Start by ensuring you’re logged into the correct account—the one you used to sign up. Nothing’s worse than trying to cancel a service only to realize you’re in the wrong place. Once you’re set up, navigate to the Memberships & Subscription section in your account settings. Just like parallel parking, it can feel tricky, but with a steady hand, you can maneuver your way there. After locating the subscription, hit that Cancel Subscription button. When prompted, you might encounter a couple of questions about why you’re leaving. Be honest but brief; you’re aiming for efficiency, not a heart-to-heart.
To make the cancellation smooth, take a moment to think about any outstanding balance or charges. Double-check if there’re any promotional offers that might affect your final bill—like a surprise guest at a dinner party. If everything looks clear, proceed cautiously: confirm your cancellation, and don’t skip any prompts that require your attention. If you’re feeling extra cautious, keep screenshots of each step or confirmation emails, just in case you need to reference them later. If you run into any trouble—like a glitch or an unexpected error—don’t hesitate to reach out to customer support. They’re there to help, and sometimes a quick chat can clear confusion faster than you can say “Channel surfing.”
What to Expect After You Pull the Plug on Your Subscription
Once you hit that cancel button, a few things will start to change, so it’s essential to know what to expect. First, you’ll still be able to enjoy your YouTube TV subscription until the end of your current billing cycle. Think of it like finishing the last slice of a pizza—you still get all the goodness until it’s entirely gone. After that, the real transition begins. You’ll lose access to all the channels, shows, and DVR storage you were using, so if you have any last-minute binge-watching to do, now’s your chance!
Post-cancellation, keep an eye on your email inbox. YouTube TV usually sends a confirmation of your cancellation, along with details about your account status. If you’re a planner, this is the moment where you can decide if you want to explore other streaming options or revisit YouTube TV down the road. Consider jotting down a few alternatives or even a list of pros and cons if you’re on the fence. Just remember, your viewing habits can change over time, and sometimes it takes a little trial and error to find the perfect fit for your entertainment needs.
The Conclusion
And there you have it! Cancelling your YouTube TV subscription doesn’t have to be as convoluted as piecing together a jigsaw puzzle with missing pieces. With just a few easy steps, you’ll be on your way to freeing up that monthly fee without a hitch. Remember, there’s no need to stress about it—think of it as a little spring cleaning for your streaming habits. Whether it’s to save some cash for that new gadget you’ve been eyeing or to explore other options out there, you’ve got the tools to take action.
If you ever decide to jump back in, know that your favorite shows will be waiting right where you left them. So take a deep breath, give yourself a pat on the back, and enjoy the newfound flexibility! Got questions or tips of your own? Drop a comment below—let’s keep the conversation going. Happy streaming (or not streaming) to you!