Are you tired of dull PowerPoint presentations that put your audience to sleep faster than a Sunday afternoon nap? You’re not alone! Spice up your slides and grab your audience’s attention by mastering the art of embedding YouTube videos. Imagine transforming a static presentation into a dynamic experience with just a few clicks. Sounds simple, right? Well, it is! In this article, we’re diving into the nitty-gritty of effortlessly adding YouTube videos to your PowerPoint slides. Whether you’re a seasoned pro or a newbie just trying to make a splash, you’ll find some handy tips and tricks to elevate your presentations to the next level. So, grab your popcorn (metaphorically, of course), and let’s get started on turning your PowerPoints from ”meh” to “wow”!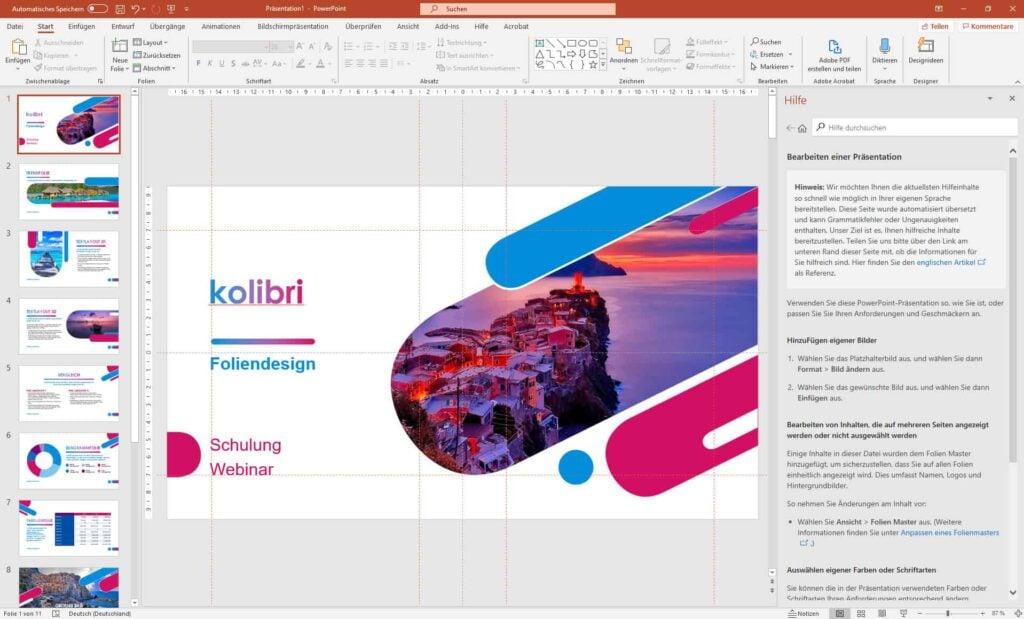
Unlocking the Magic of YouTube Video Integration
So, you’ve spent hours crafting the perfect PowerPoint presentation, and now you want to take it up a notch. Embedding YouTube videos is like adding sprinkles to a cupcake—it’s the cherry on top that can really enhance your message! By incorporating engaging and relatable video content, you not only keep your audience entertained but also help to elaborate on your main points. Imagine your viewers’ faces lighting up as they see a relevant clip that reinforces what you’ve just said. It’s a fantastic way to create a connection and break up the text-heavy slides that can sometimes overwhelm. Plus, it’s super easy!
To embed a YouTube video, just follow these steps: First, copy the video’s URL from your browser. Then, in PowerPoint, click on the “Insert” tab, select “Video,” and choose the “Online Video” option. Paste the URL, and voilà! Your video is ready to roll. Here’s a quick overview of some benefits of this integration:
| Benefit | Description |
|---|---|
| Engagement | Visual content grabs attention and keeps your audience interested. |
| Clarity | Videos can simplify complex ideas and make them easier to comprehend. |
| Professionalism | Embedding videos showcases your effort and enhances the overall quality of your presentation. |

Step-by-Step Guide to Seamless Embedding
Getting Started
Before diving into the nitty-gritty, let’s lay out what you’ll need to make this process smooth. First, ensure you have the latest version of PowerPoint to avoid any glitches. Next, pick a YouTube video that fits your presentation like a glove—something engaging or informative that resonates with your audience. Grab the video’s URL; you’ll need it in a moment. Trust me, when you’re standing in front of your audience, nothing speaks louder than a well-placed video that enhances your message.
Embedding the Video
Now, let’s make magic happen! Open your PowerPoint presentation and navigate to the slide where you want the video to appear. Go to the Insert tab on the ribbon and look for Video. You’ll see an option for Online Video; click that. A dialog box will pop up—this is where your URL comes into play. Paste your YouTube link and hit Enter. Just like that, your video will appear on the slide! You can resize and reposition it—make it part of your design. Remember, embedding videos isn’t just about showing content; it’s about storytelling!

Tips and Tricks for Optimizing Your Presentations
When it comes to taking your presentations to the next level, the visuals sometimes speak louder than words. Incorporate multimedia elements to keep your audience engaged and interested. Consider using high-quality images, infographics, and of course, embedding YouTube videos. This dynamic approach breaks the monotony of slides filled with text and helps illustrate your points clearly. Here are a few key tips to keep in mind:
- Stay Relevant: Make sure the videos you include are directly related to your topic. A random cat video, while entertaining, might not win you any points!
- Optimal Length: Choose clips that are brief—ideally under two minutes—to maintain attention without dragging out the presentation.
- Practice Embedding: Familiarize yourself with the embedding process in PowerPoint. A smooth transition to a video is critical for keeping the flow of your presentation intact.
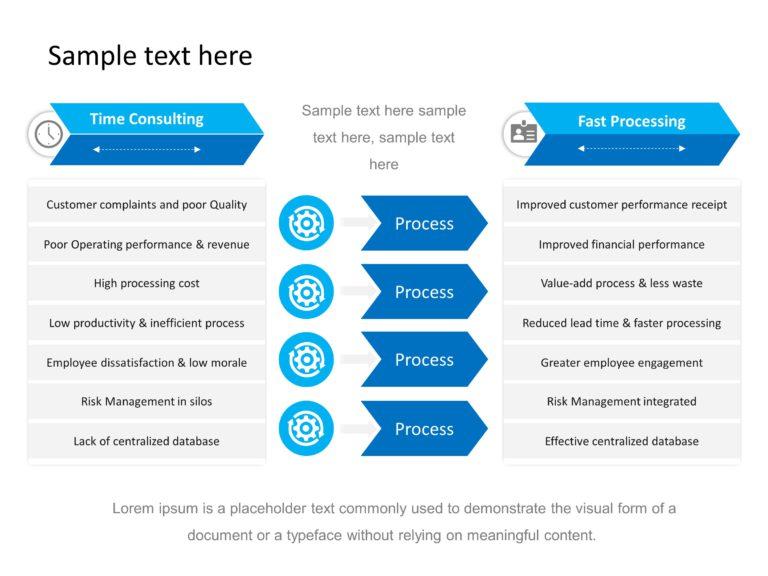
Also, consider the context when you embed your videos. Before each clip, give a brief intro so your audience knows what to expect. A simple setup helps create anticipation and encourages them to pay close attention. Beyond that, remember to test your internet connection beforehand. Nothing kills momentum like a buffering video! And to keep everything organized, you can use a table to outline what each video contributes to your presentation:
| Video Title | Purpose |
|---|---|
| Intro to Data Science | Provides a visual overview of data trends. |
| User Testimonial | Showcases real-life successes of your product. |
Troubleshooting Common Issues for a Flawless Experience
So, you’ve followed all the steps to embed that perfect YouTube video into your PowerPoint presentation, but something’s just not working right? First, let’s tackle the common hiccups. Sometimes it’s as simple as a shaky internet connection. A weak connection can cause the video to lag or, worse, not play at all. Make sure you’re connected to a reliable wifi network before hitting that slideshow mode. If you’re experiencing playback glitches, double-check that you’ve inserted the video link correctly. A slippery finger can lead to an extra space or a missing character, and let’s be honest, nobody wants the audience staring awkwardly at a “Video Not Available” screen!
If you’re still running into issues, it’s time to get technical. Here are a few troubleshooting steps to enhance your experience:
- Update PowerPoint: Make sure you’re using the latest version of PowerPoint; updates often fix bugs and improve performance.
- Check Embed Permissions: Ensure the video publicly shared; Private videos won’t play for the audience.
- Test on Different Devices: Sometimes, what doesn’t work on one device might run smoothly on another.
Still no luck? You may want to consider downloading the video and using the “Insert” feature to add it directly into your PowerPoint. Just remember to keep copyright laws in mind!
In Retrospect
And there you have it—your ultimate guide to effortlessly embedding YouTube videos in PowerPoint! It’s like adding a cherry on top of an already delicious cake. With this knowledge in your back pocket, you can breathe new life into your presentations and keep your audience engaged.
Just think about it: those dry slides filled with text? Boring! But toss in a catchy video, and suddenly you’re the star of the show, captivating your listeners’ attention as if you were telling the latest blockbuster tale. Remember, the key is to strike that perfect balance between visuals and information.
So, what are you waiting for? Grab that PowerPoint, find a killer video, and let your creativity fly! Whether you’re presenting to your classmates, impressing your boss, or just sharing your thoughts with friends, you now have the tools to make your presentations pop like never before.
If you have any tips or tricks of your own, feel free to share them! After all, we’re all in this together, and great presenters are always learning. Happy presenting! 🎉
