Hey there, fellow content creators and YouTube enthusiasts! Have you ever stumbled across a video that made you think, “I wish I could save this gem for later” or “I need to share this with my friends”? If you’ve found yourself in that boat, you’re in for a treat! In today’s digital age, mastering screen recording is an absolute game changer. Imagine having the ability to capture your favorite YouTube videos right on your laptop, turning those fleeting moments into lasting keepsakes. Whether it’s a hilarious clip, an eye-opening tutorial, or a must-watch webinar, the power to record your screen brings a world of possibilities right to your fingertips. So, grab your favorite drink, sit back, and let’s dive into the how-tos of screen recording like a pro. Get ready to transform not just the way you consume content, but also how you share it with others!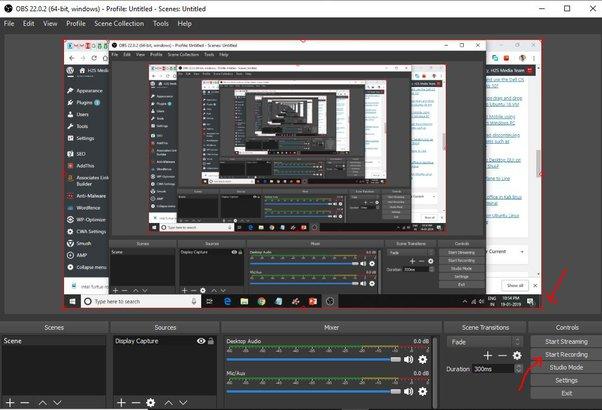
Exploring the Best Screen Recording Software for Every Need
Finding the right screen recording software can feel overwhelming, especially if you’re gearing up to capture those jaw-dropping YouTube moments. With an array of options available, you’ll want to consider what suits your specific needs best. Are you looking for something user-friendly that won’t take a rocket scientist to navigate? Or perhaps you’re after advanced features that allow for high-quality video editing? Here are a few options that truly stand out:
- OBS Studio: A favorite among gamers and streamers, it’s free and packed with features.
- Camtasia: Ideal for professionals who want both recording and editing capabilities in one tool.
- Screencast-O-Matic: This one’s perfect for quick recordings without the fuss.
- Bandicam: Great for high-quality recordings, especially for gaming and tutorials.
Understandably, the decision can be influenced by how you intend to use the recordings. For instance, if you’re planning to showcase a tutorial, you might opt for software with annotation features to highlight key points, making it easier for viewers to follow along. But if you’re just sharing gameplay, a dedicated gaming recorder with minimal distractions might be your best bet. Here’s a quick table to help you weigh your options:
| Software | Best For | Price |
|---|---|---|
| OBS Studio | Free streaming & Recording | Free |
| Camtasia | Professional videos | $249 |
| Screencast-O-Matic | Quick recordings | Free/$1.50/mo for premium |
| Bandicam | High-quality game capture | $39 |
Unlocking Tips and Tricks for Flawless YouTube Capture
When you’re diving into the world of screen recording, especially for YouTube, it’s all about having the right tools and settings. First off, invest time in familiarizing yourself with the software you choose. Most programs have features that can elevate your recording experience. So, don’t just scratch the surface! Here’s a quick rundown of must-have settings for smooth captures:
- Resolution: Aim for 1080p or higher for crisp visuals.
- Frame Rate: 30 fps is decent, but 60 fps offers buttery smoothness.
- Audio Quality: Use an external mic for cleaner sound if possible.
After you’ve set up, remember that preparation is key. Clean up your desktop and close any unnecessary tabs; this minimizes distractions. A clutter-free workspace isn’t just nice to look at: it also reduces the risk of accidentally sharing personal info. Additionally, consider running test recordings. This helps you tweak settings until everything flows just right. Speaking of flow, arranging your recording schedule can tremendously help you stay organized. A simple table can help keep things on track:
| Day | Content Idea | Duration |
|---|---|---|
| Monday | Unboxing Video | 10 min |
| Wednesday | How-To Tutorial | 15 min |
| Friday | Live Stream Q&A | 30 min |
Editing Your Recordings Like a Pro: Enhance and Polish Your Content
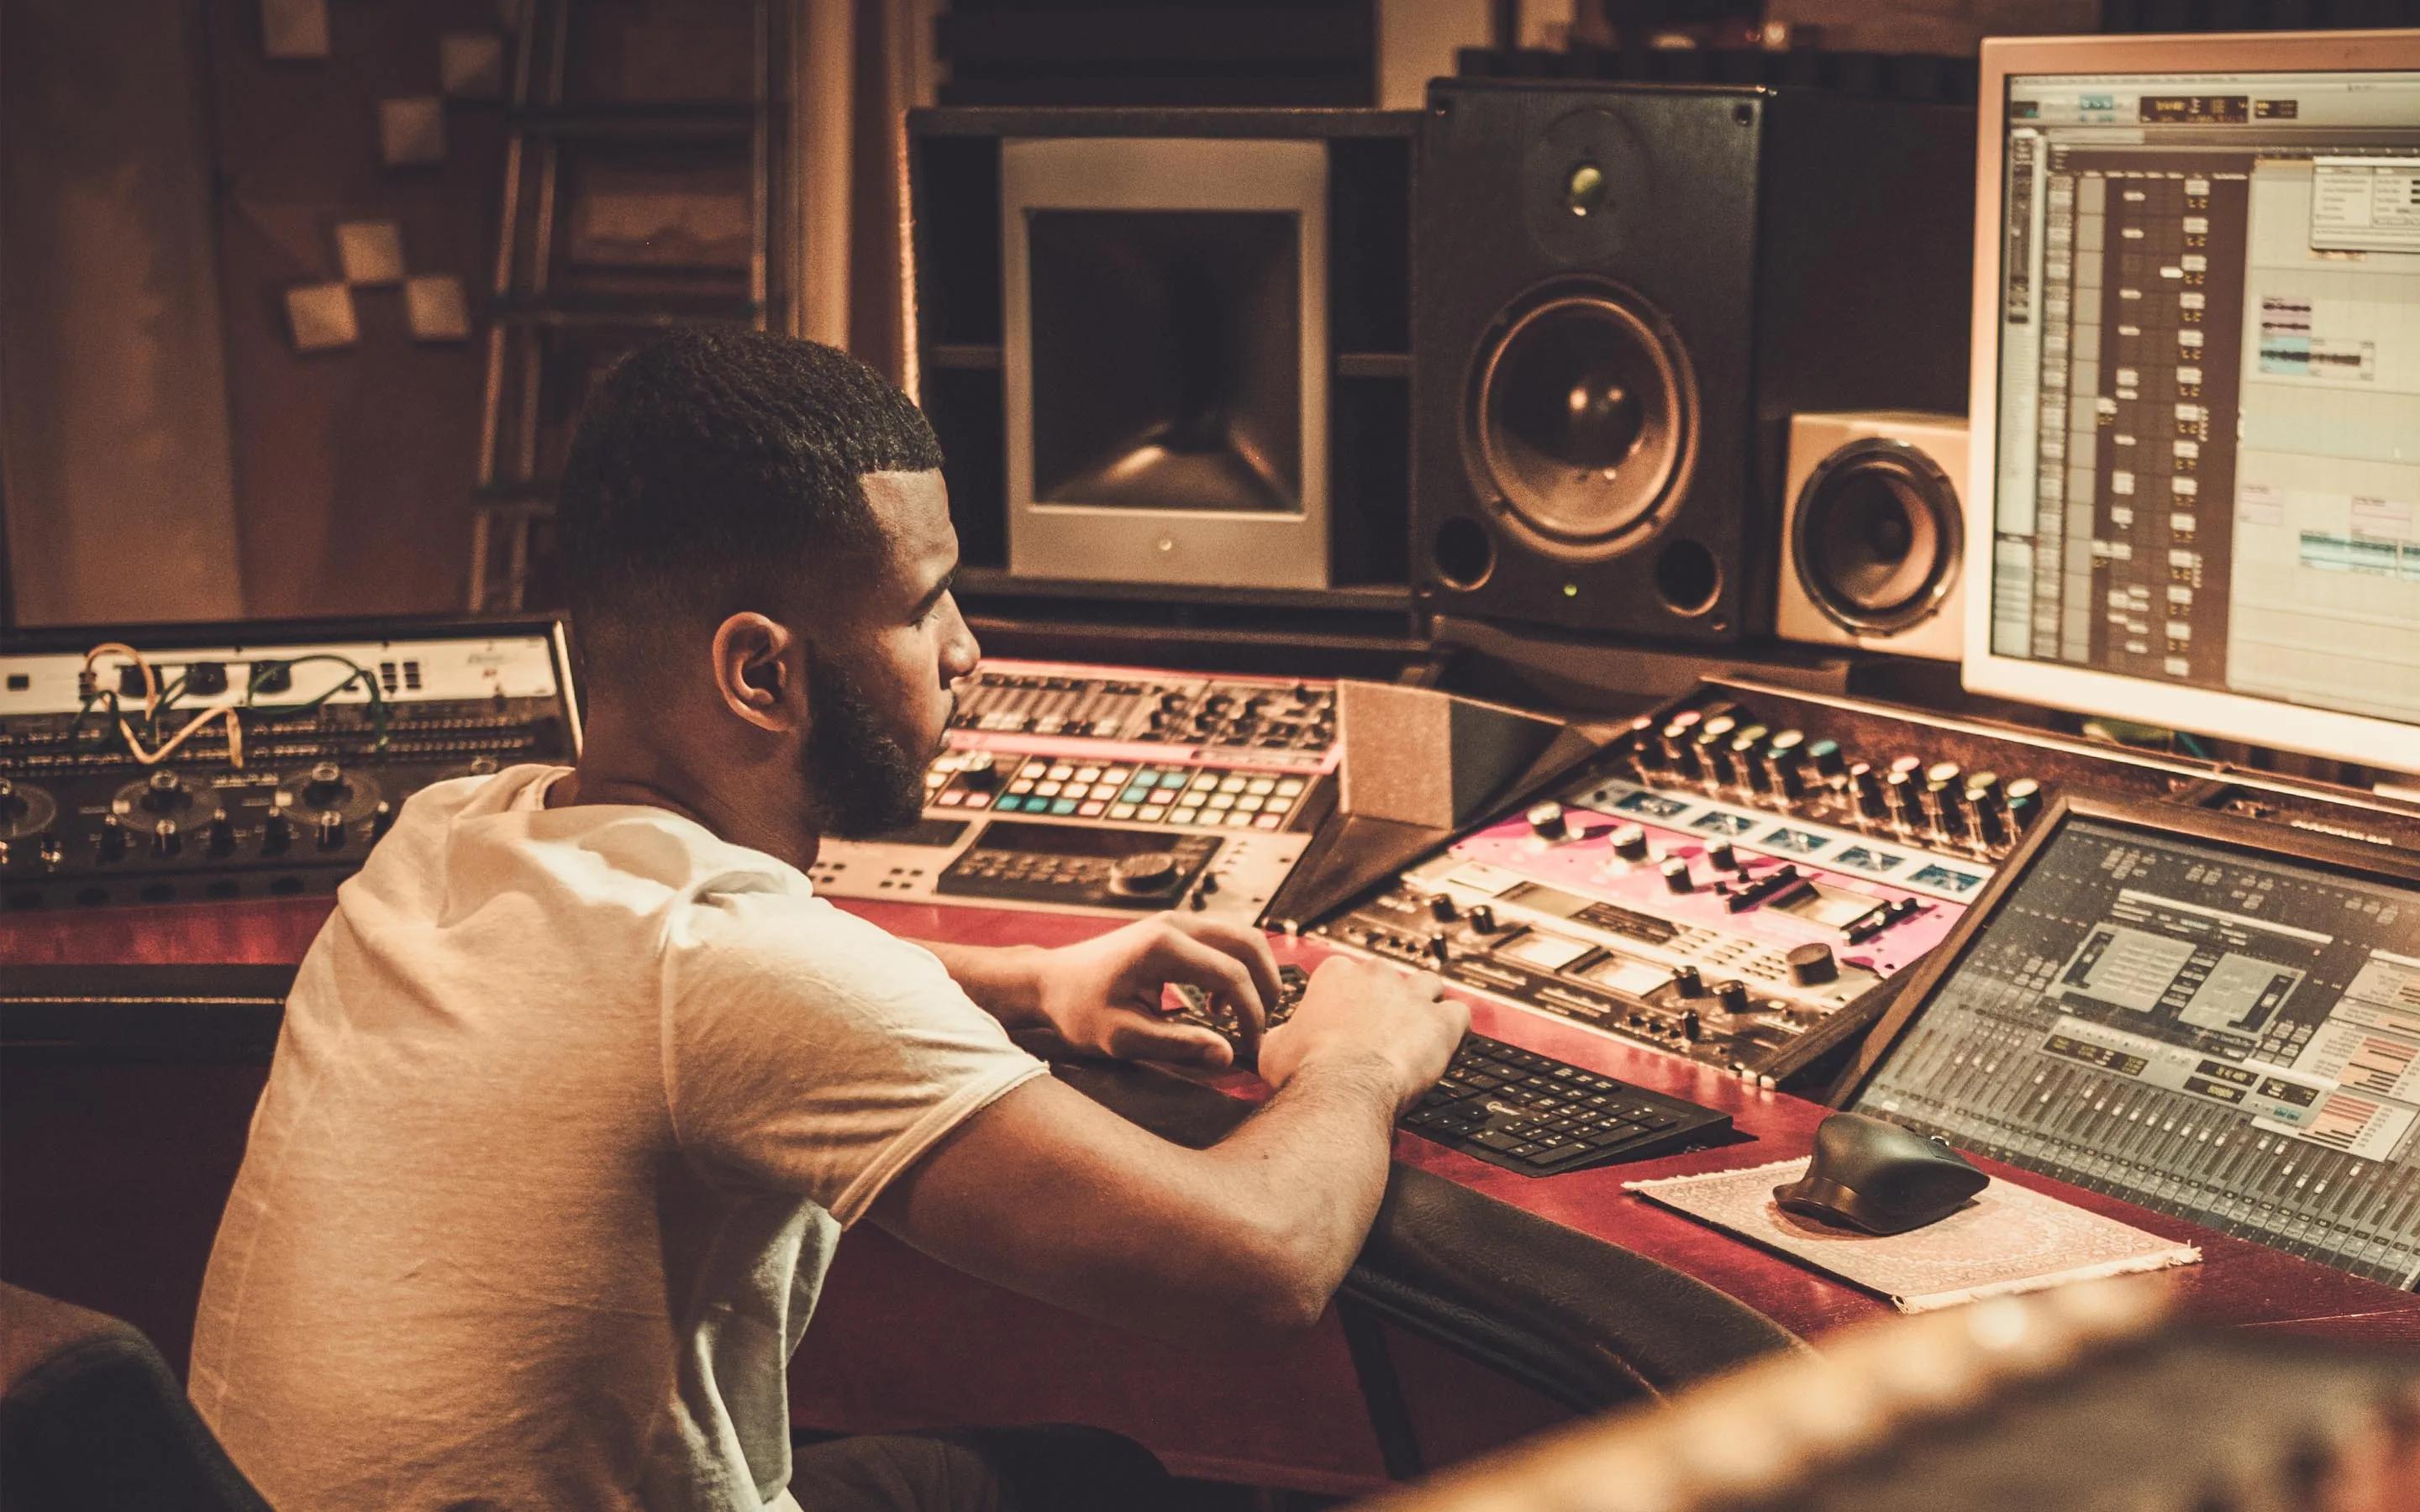
Once you’ve captured your screen, the real fun begins with editing your recordings to make them shine like a diamond in the rough. Whether you’re trying to cut out those awkward pauses, add funky transitions, or spice things up with background music, the goal is to create a polished final product that keeps your audience glued to their screens. Here are some tips to level up your editing game:
- Trim and Cut: Get rid of any unnecessary flubs or dead air. A well-paced video holds attention better.
- Enhance Audio: Clear audio is crucial! Use filters or noise reduction to improve the sound quality.
- Add Captions: This helps viewers follow along and makes your content accessible to everyone.
- Use Engaging Effects: Subtle animations or visual effects can help emphasize key points.
Don’t forget to wrap your masterpiece in a catchy intro and outro to give it that professional flair. An appealing thumbnail can also draw in viewers faster than a cat chasing a laser pointer! Consider this table as a quick reference for essential editing tools:
| Tool | Function |
|---|---|
| Adobe Premiere Pro | Comprehensive video editing with advanced features. |
| iMovie | User-friendly for quick edits on Mac. |
| Filmora | Creative effects made easy for beginners. |
| Audacity | Free tool for powerful audio editing. |
Navigating Copyrights: What You Need to Know Before Recording
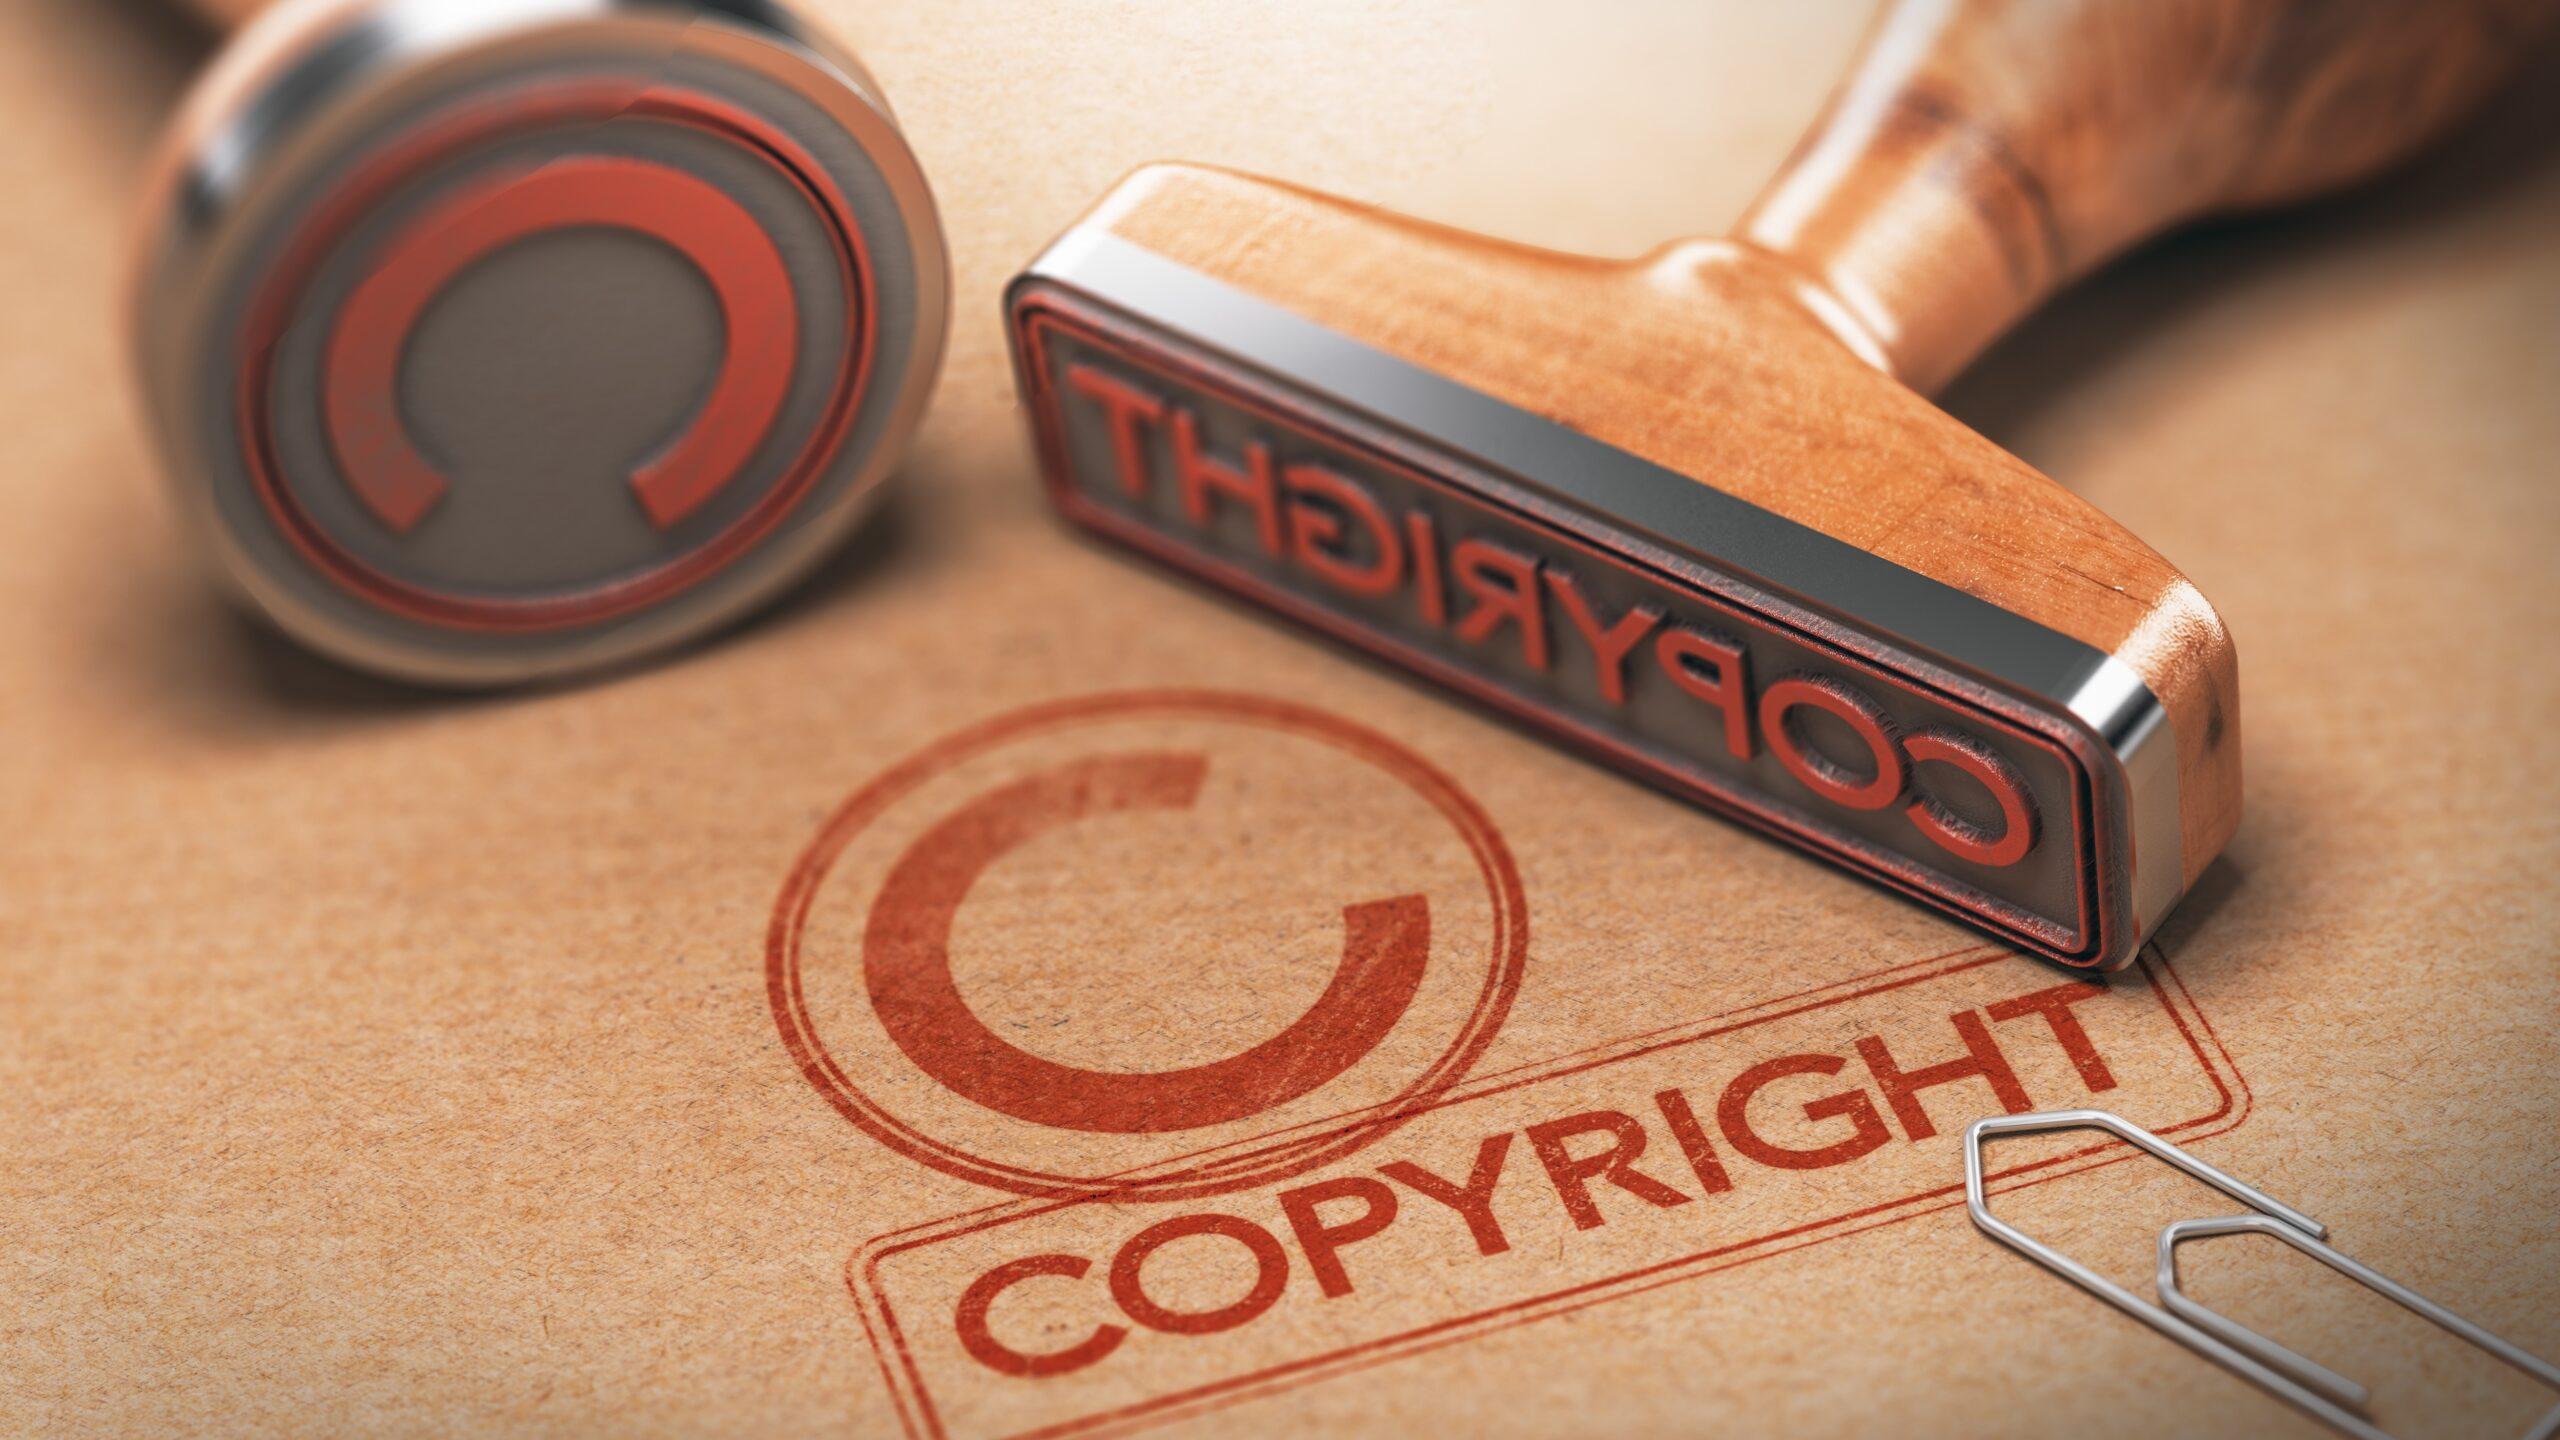
Before you hit that record button, it’s crucial to understand the legal waters you’re wading into. Copyright laws exist to protect the creators’ rights, and that includes the videos you want to capture. While it might be tempting to record a popular YouTube video for personal viewing or to share with friends, you should tread carefully. If you plan to upload your recording online or use it in a public setting, it’s a different ball game altogether. You’ll want to consider the following:
- Fair Use Doctrine: Know that this allows for limited use of copyrighted materials without permission under certain conditions, but it’s a gray area.
- Creative Commons Licenses: Some creators allow their content to be shared or adapted. Look for videos that specify such licenses if you want to play it safe.
- Direct Permissions: When in doubt, reaching out to the content creator for permission can save you a lot of headaches.
Staying informed about the ins and outs of copyright is not just smart—it’s essential for anyone looking to produce original content. By respecting the rights of others while safeguarding your own, you help foster a creative community where everyone benefits. To keep it straightforward, here’s a simple comparison of different video types based on their copyright status:
| Video Type | Copyright Status |
|---|---|
| Personal Vlogs | Usually Safe to Record |
| Music Videos | Strictly Protected |
| Creative Commons Content | Check License for Use |
| Educational Videos | Potential Fair Use |
Final Thoughts
And there you have it! You’re now equipped with all the know-how to master screen recording and capture your favorite YouTube moments right from your laptop. Whether you’re looking to create tutorials, share epic gaming highlights, or save that hilarious cat video for a later laugh, you’ve got the tools at your fingertips.
Remember, practice makes perfect. So, don’t be shy—experiment with different software, tweak your settings, and find what works best for you. Just as a painter discovers their style over time, you’ll find your groove in the world of screen recording.
If you found this guide helpful, why not share it with a friend? After all, good things are meant to be shared! And who knows? They might have a few recording tricks up their sleeve, too. Until next time, happy recording! Capture those moments, have fun with it, and let your creativity shine.

