


Hey there, fellow creators! If you’re reading this, you’re probably on a quest to turn your laptop into a virtual film studio. Whether you want to share gaming tips, create online tutorials, or showcase your artistic skills, mastering screen recording is your golden ticket to YouTube stardom. Imagine it like being the conductor of an orchestra—your screen recording is the symphony that will captivate your audience!
In this guide, we’re diving into the art of screen recording on your laptop, making it as easy as pie. We’ll chat about the best software to use, some nifty tricks to polish up your videos, and tips that’ll have your viewers hooked from the very first second. So grab your laptop, get comfy, and let’s turn those everyday moments into YouTube magic! Are you ready to roll? Let’s do this!


Unlocking the Power of Screen Recording Software for YouTube Success
Leveraging screen recording software is like wielding a magic wand in the realm of YouTube content creation. Imagine being able to share your unique knowledge, gaming skills, or tutorials visually, all while adding your personal flair. With the right tools, you can capture high-quality videos directly from your laptop screen in just a few clicks. But what exactly should you consider when choosing this software? Whether you’re looking for free options or more advanced features, you ought to focus on:
- Ease of Use: Choose software that feels intuitive – no one wants to wrestle with complicated controls while trying to create engaging content.
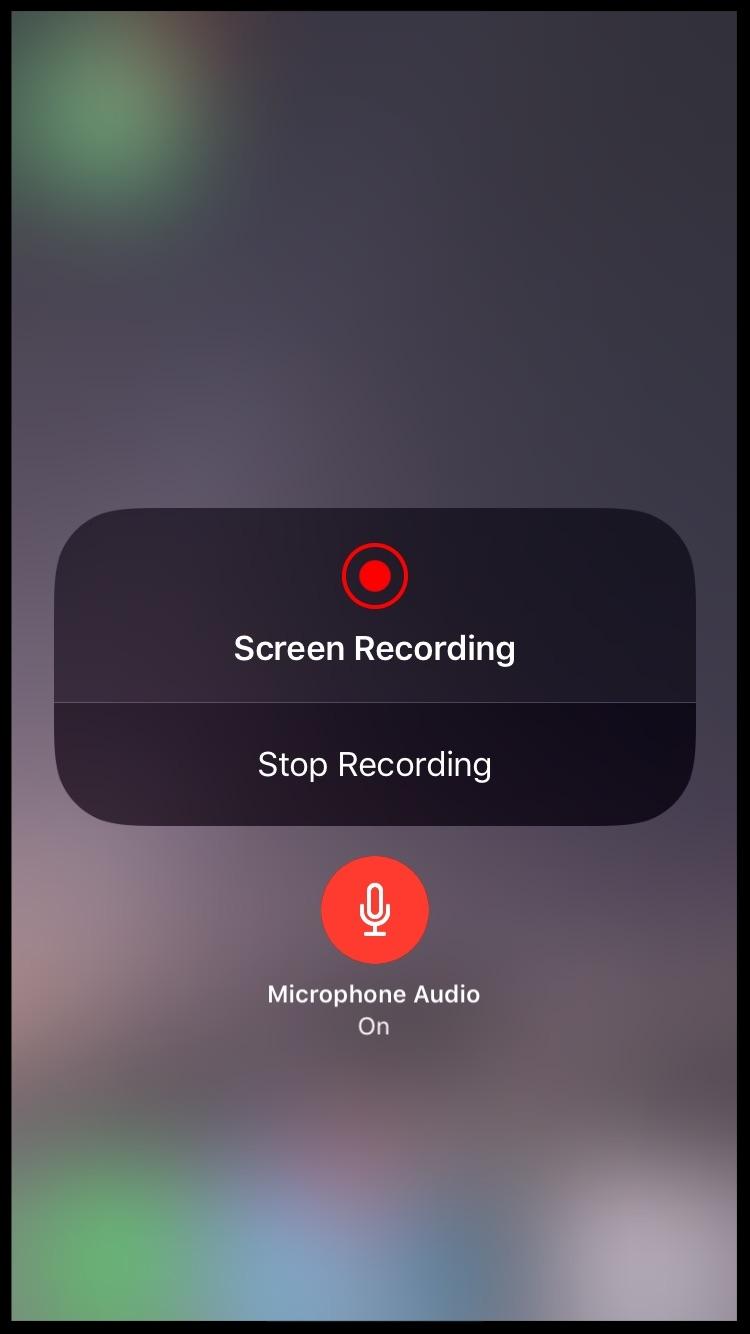
- Recording Quality: Go for options that provide high-resolution output, so your videos look as crisp as your methods feel.
- Editing Features: Consider software that comes with built-in editing tools. This allows you to add those flashy intros and effects without needing separate software.
Beyond functionality, it’s also essential to think about how to engage your audience effectively. Remember, building a connection with your viewers is key. Imagine recording a tutorial where you narrate your steps in real-time, sharing tips as you go. Your personality shines through, making the experience less about the screen and more about interacting with you. Here’s a quick table to help you choose the right software based on your needs:
| Software | Best For | Price |
|---|---|---|
| OBS Studio | Advanced Users | Free |
| Screencast-O-Matic | Tutorials | Affordable Subscription |
| Bandicam | Gaming | One-time Purchase |

Crafting Engaging Content with Effective Recording Techniques
When it comes to captivating your audience, blending top-notch content with effective recording techniques is a game changer. Imagine your screen recording as a movie; every detail matters, right? To keep your viewers glued to their screens, consider these key elements:
- Crystal Clear Audio: Poor audio can ruin the best visuals. Invest in a decent microphone to ensure your voice comes through loud and clear.
- Engaging Visuals: Use high-quality graphics and animations to illustrate your points. Think of them as the eye candy that keeps your viewers craving more.
- Storytelling Techniques: Structure your content like a story, complete with a beginning, middle, and end. This will guide your audience through your ideas and keep them engaged from start to finish.
Here’s a quick cheat sheet for keeping your recordings fresh and lively:
| Tip | Description |
|---|---|
| Plan Your Content | Sketch out your main points beforehand to avoid rambling. |
| Use Screen Highlights | Incorporate highlights and zoom-ins for emphasis, guiding the viewer’s eye. |
| Break It Down | Split complex topics into bite-sized segments for easier understanding. |

Mastering Audio and Visual Quality for Stunning Videos
When you’re diving into the world of screen recording, achieving top-notch audio and visual quality can feel like a daunting task, but fear not! It’s all about finding the right balance. Good visuals can make your content pop, while crystal-clear audio ensures your audience doesn’t miss a word. First, consider investing in a decent microphone. Whether it’s a USB condenser mic or a simple lapel mic, quality sound can significantly enhance the overall experience. Also, pay attention to the lighting in your recording space. Natural light is your best friend—just position your laptop near a window to ensure your face is well-lit. If you record during odd hours, consider using softbox lights to mimic that natural glow.
Now, let’s talk about the actual recording setup. It’s crucial to choose a screen recording tool that offers flexibility and controls over the quality settings. Check if your software allows you to adjust resolutions; recording in HD (1080p) is a must these days. Consider these key features when selecting your screen recording software:
- Customizable Resolution: Ensure you can record in various resolutions.
- Able to Edit: Built-in editing features can save time.
- Audio Input Options: Support for multiple microphone inputs can enhance sound quality.
- Real-Time Captions: They can make your videos more accessible.
| Software | Key Feature | Price |
|---|---|---|
| OBS Studio | Open-source and versatile | Free |
| Camtasia | Built-in editing tools | $249 |
| Bandicam | High-quality screen recording | $39 |

Editing Like a Pro: Tips for Polishing Your Screen Recordings
When it comes to editing your screen recordings, think of it like polishing a diamond. You want to make every aspect shine! Start by trimming out any unnecessary bits. Those awkward pauses and countdowns? Bye-bye! Use basic editing software to cut the fat, and don’t forget to enhance the audio. Good sound can make a world of difference—no one wants to listen to a muffled voice. Experiment with background music or sound effects, but make sure they complement your message rather than overpower it. If you’re unsure, why not ask a friend for feedback? Fresh ears can catch things you might overlook.
Visual elements play a huge role, too! Think of overlays, annotations, and captions as sprinkles on your cupcake—just enough to enhance but not overpower the flavor. Highlight key points by adding colored boxes or arrows, making it easier for viewers to follow along. And, if you’re using text on the screen, ensure it’s large enough to read without squinting. Keeping a consistent style across your recordings can create a professional look that viewers will love. After all, wouldn’t you want to return to a channel that feels polished and cohesive?

The Way Forward
As we wrap up our deep dive into mastering screen recording for your laptop, it’s clear that you now hold the keys to unlock a world of creative possibilities for your YouTube channel. Just think about it: with a few clicks, you can share your skills, showcase that awesome gaming moment, or break down complex tutorials—making you the go-to guru in your niche.
But remember, the best part of this journey isn’t just in the technology or the software; it’s about sharing your passion and connecting with others. So, don’t hesitate! Hit that record button, bring your ideas to life, and let your creativity flow.
And who knows? Maybe your next video will be the one that captures hearts and minds, drawing in viewers eager for more of that unique magic only you can provide. So go on, get out there, and let your screen recording adventures begin! Happy recording, and may your edits be smooth and your views sky-high!

