Hey there, DIY enthusiasts! Are you tired of those pesky doors that just won’t shut on their own? Maybe you’re tired of remembering to pull them closed after you walk out? Well, fret no more—self-closing door hinges are here to save the day! Not only do they add a touch of convenience to your home, but they also provide an extra layer of security and energy efficiency by ensuring doors are always closed. Whether you’re sprucing up your interior, remodeling an entryway, or just yearning for a little less traffic through your living space, installing these hinges is a straightforward project that anyone can tackle. In this article, we’ll walk you through the process step-by-step, ensuring you have everything you need to transform your regular door into a self-closing wonder. So grab your tools, roll up your sleeves, and let’s get those doors working for you!
Choosing the Right National Self-Closing Door Hinges for Your Needs
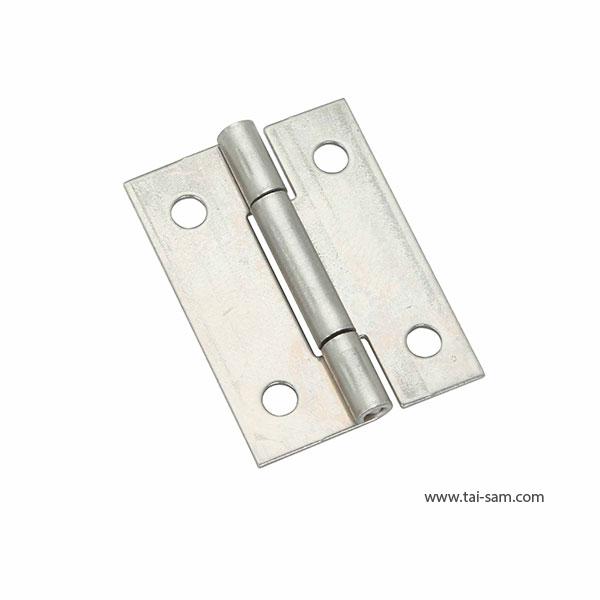
When it comes to selecting the right hinges, you really want to think about what your door needs. Not all self-closing door hinges are created equal! Factors like door weight, frequency of use, and even the type of door frame play a big role in what hinge will work best for you. For instance, if you have a heavy wooden door that swings open and closed a lot, you’ll need robust hinges that can handle the wear and tear. On the flip side, a lightweight screen door might only require a gentler touch. Consider these factors before making your purchase:
- Material: Choose between stainless steel or brass based on durability and aesthetics.
- Size: Ensure the hinge fits your door dimensions and weight.
- Spring Tension: Look for adjustable options if you want control over closing speed.
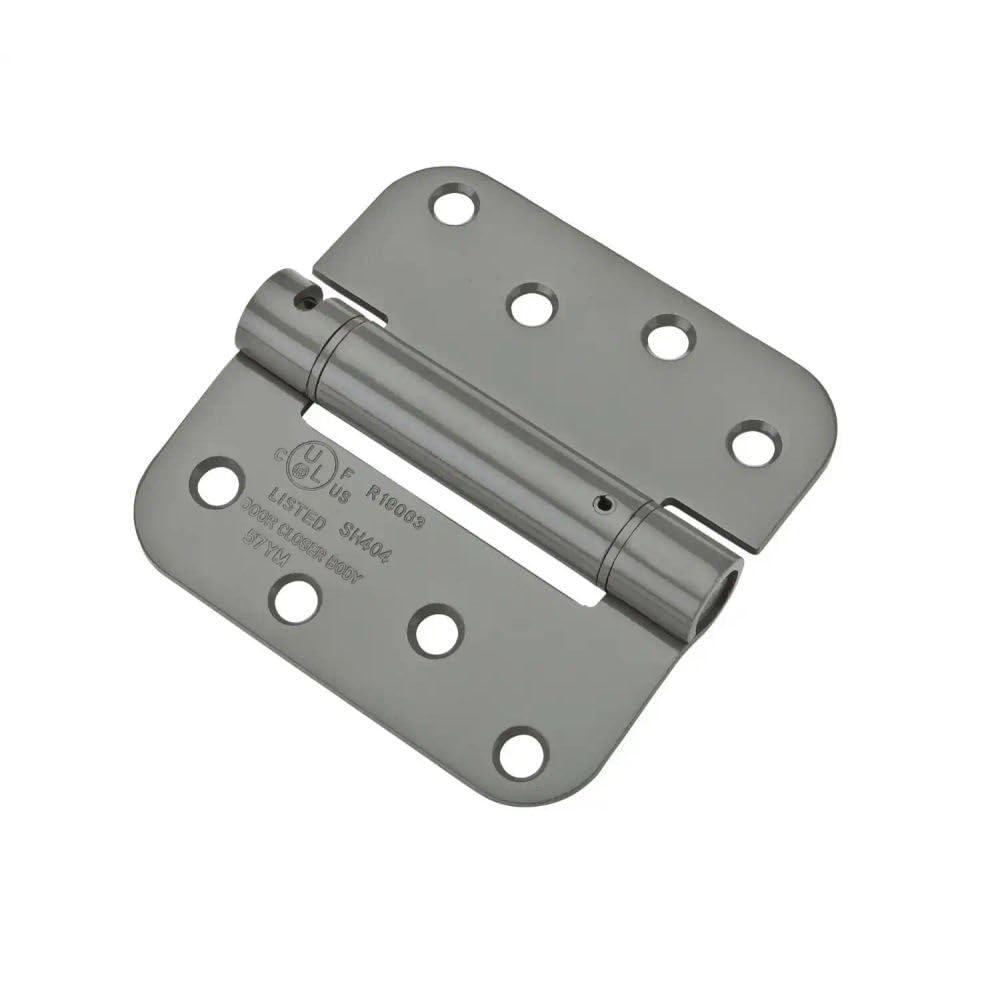
It’s also crucial to think about the specific environment where the hinges will be installed. If your door is often exposed to the elements, corrosion-resistant options will help it last longer. You might also want hinges that are easier to install – some come with detailed instructions and don’t require any additional tools! And if you want to take it a step further, consider whether you want a visible hinge or something more seamless. Here’s a quick comparison of hinge types you may encounter:
| Type of Hinge | Best For | Key Feature |
|---|---|---|
| Adjustable | Heavier doors | Customizable tension |
| Spring | High-traffic areas | Automatic closing |
| Invisible | Modern designs | Hidden installation |
Gathering Your Tools and Preparing the Installation Area

Before diving into the installation, it’s essential to gather your tools and set up the area where you’ll be working. Think of this as laying down the foundation for a fantastic DIY project; you wouldn’t build a house without a solid base, right? Here’s a quick list of must-have tools that will make your life so much easier:
- Drill – A power drill is your best friend for this job.
- Screwdriver – You’ll need both flat-head and Phillips for different screws.
- Measuring tape – Accurate measurements are crucial!
- Level – For ensuring your hinges are perfectly aligned.
- Pencil – Marking spots saves time and headaches later.
Now that you’ve got your tools ready, let’s talk about preparing your installation area. Clear out any clutter from around the door, making room for easy movement and ensuring you won’t accidentally knock over that vintage lamp you’ve been trying to protect. It’s also a good idea to lay down a drop cloth or tarp, especially if you’re working on a finished floor—nobody wants a scraped surface or misplaced drill marks! If you can, have a buddy to help out; two sets of hands are always better than one, and they might just spot that one odd angle you missed. Once everything is prepped, you’ll be all set to transform your door with those shiny new self-closing hinges!
Mastering the Step-by-Step Installation Process with Ease
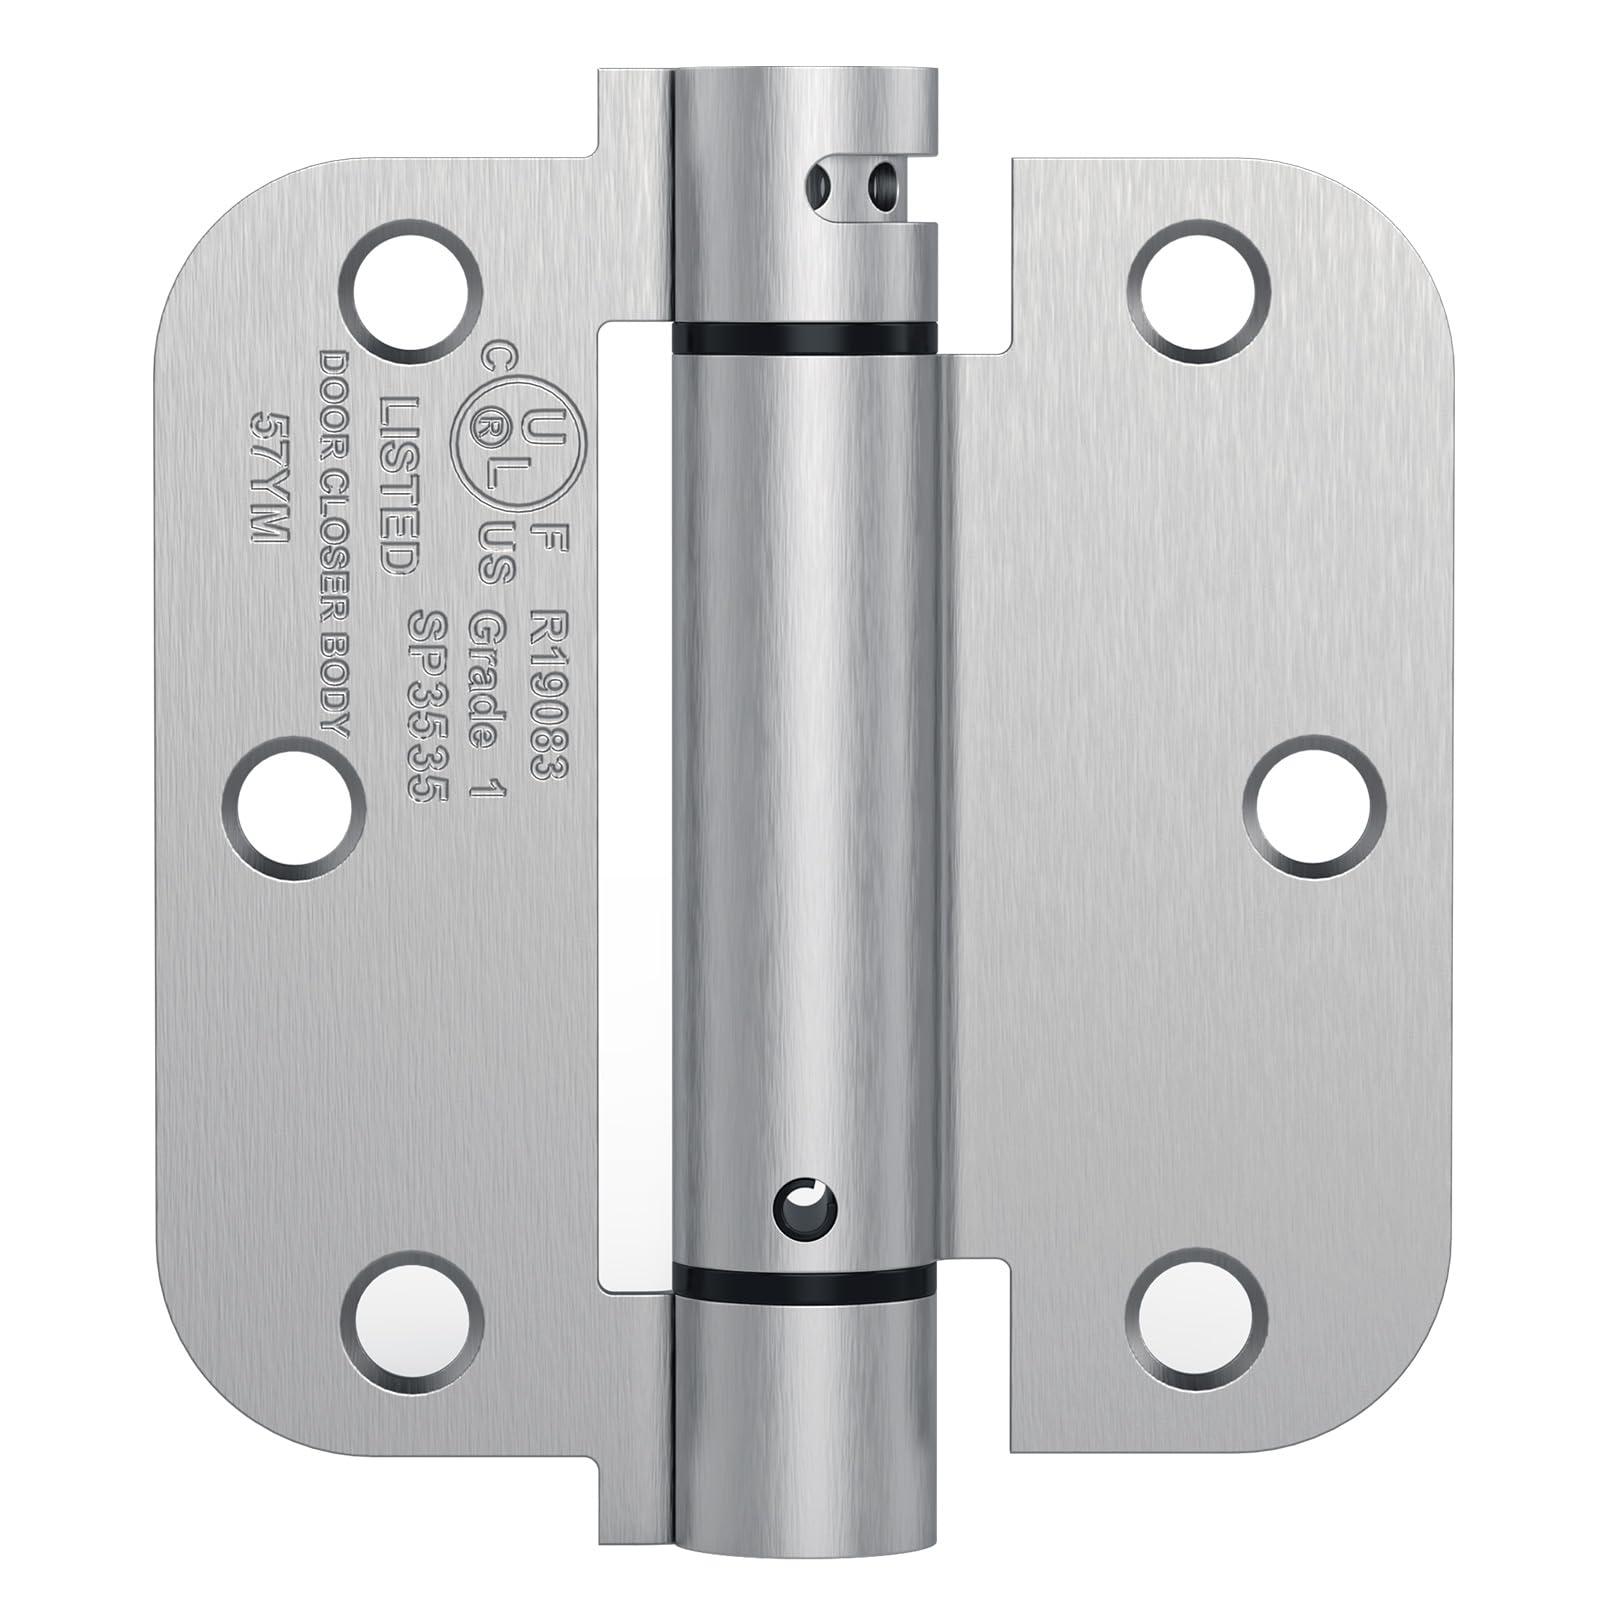
Getting your hands dirty with home improvement projects can be super rewarding, especially when it comes to installing National Self-Closing Door Hinges. This isn’t rocket science, folks! Start by gathering your tools: a drill, screwdriver, measuring tape, and maybe even a friend to lend a hand. First, remove the existing hinges by unscrewing them gently, making sure not to damage the door or frame. It’s a lot like baking—you need to prep your ingredients before you can whip up something great! Once the old hinges are off, line up your new self-closing hinges in the same spot and mark where the screws will go. Make sure they’re aligned correctly; you wouldn’t want your door to misbehave, would you?
Next up, it’s time for the fun part: installation! Using your drill, make pilot holes for the new screws; this ensures that the hinges fit snugly without splitting the wood. After that, attach the hinges to the door with a screwdriver—give those screws a nice twist, but don’t overdo it! Test the door to see how smoothly it closes. You might want to adjust the tension of the hinges, which is as easy as a quick turn of a screw. If all goes well, you’ll be admiring your handiwork in no time. Check this quick reference to help you visualize the process:
| Step | Description |
|---|---|
| Gather Tools | Drill, screwdriver, measuring tape |
| Remove Old Hinges | Unscrew carefully, avoiding damage |
| Mark New Hinges | Align and mark screw locations |
| Install New Hinges | Use pilot holes, secure with screws |
| Test Closure | Adjust tension for smooth operation |
Final Touches and Maintenance Tips for Long-Lasting Performance

Now that you’ve successfully installed your new self-closing door hinges, it’s time to focus on keeping them in tip-top shape! Maintenance doesn’t have to be a chore; it can be pretty straightforward. Make a habit of checking the hinges every couple of months for signs of wear or any squeaking sounds. Just as you would pamper a well-loved car, give your hinges a little TLC with some lubricant. A good silicone spray or grease can work wonders in ensuring they smoothly guide your door every time you open or close it. Remember, a little goes a long way, so don’t overdo it! Maintaining these little guys regularly saves you from replacement chaos down the line.
When it comes to clean-up, think of your hinges like that beloved gourmet sandwich you ordered that needs to be enjoyed and not left to get stale. Dust and debris can build up, potentially hindering the closing mechanism. So, grab a soft cloth and wipe them down whenever you’re giving your space a tidy-up. If you notice any rust developing, don’t panic! Just take a bit of sandpaper and gently buff it away. And here’s a quick reference table to keep track of what to do:
| Task | Frequency | Notes |
|---|---|---|
| Lubricate Hinges | Every 2 months | Use silicone spray or grease |
| Dust Hinges | Monthly | Use a soft cloth |
| Check for Rust | Every 3 months | Bust it with sandpaper if found |
The Way Forward
And there you have it! You’ve just transformed your ordinary door into a self-closing marvel. Not only do those National self-closing door hinges add a touch of convenience to your life, but they also bring an extra layer of safety to your space. It’s like giving your door a little nudge—literally!
Think about it: no more worries about doors swinging wide open or slamming shut. Whether it’s ensuring your kids stay safe, keeping pesky pets indoors, or just making your home that much more efficient, these hinges are a game changer. Plus, you can sit back and admire your handiwork.
If you’ve tackled this project, give yourself a pat on the back. You’ve just leveled up your DIY skills! Got questions, tips, or a story about your installation adventure? We’d love to hear about it in the comments below. Thanks for joining us on this handy journey—now go out there and enjoy your newly self-closing door! Happy tinkering!